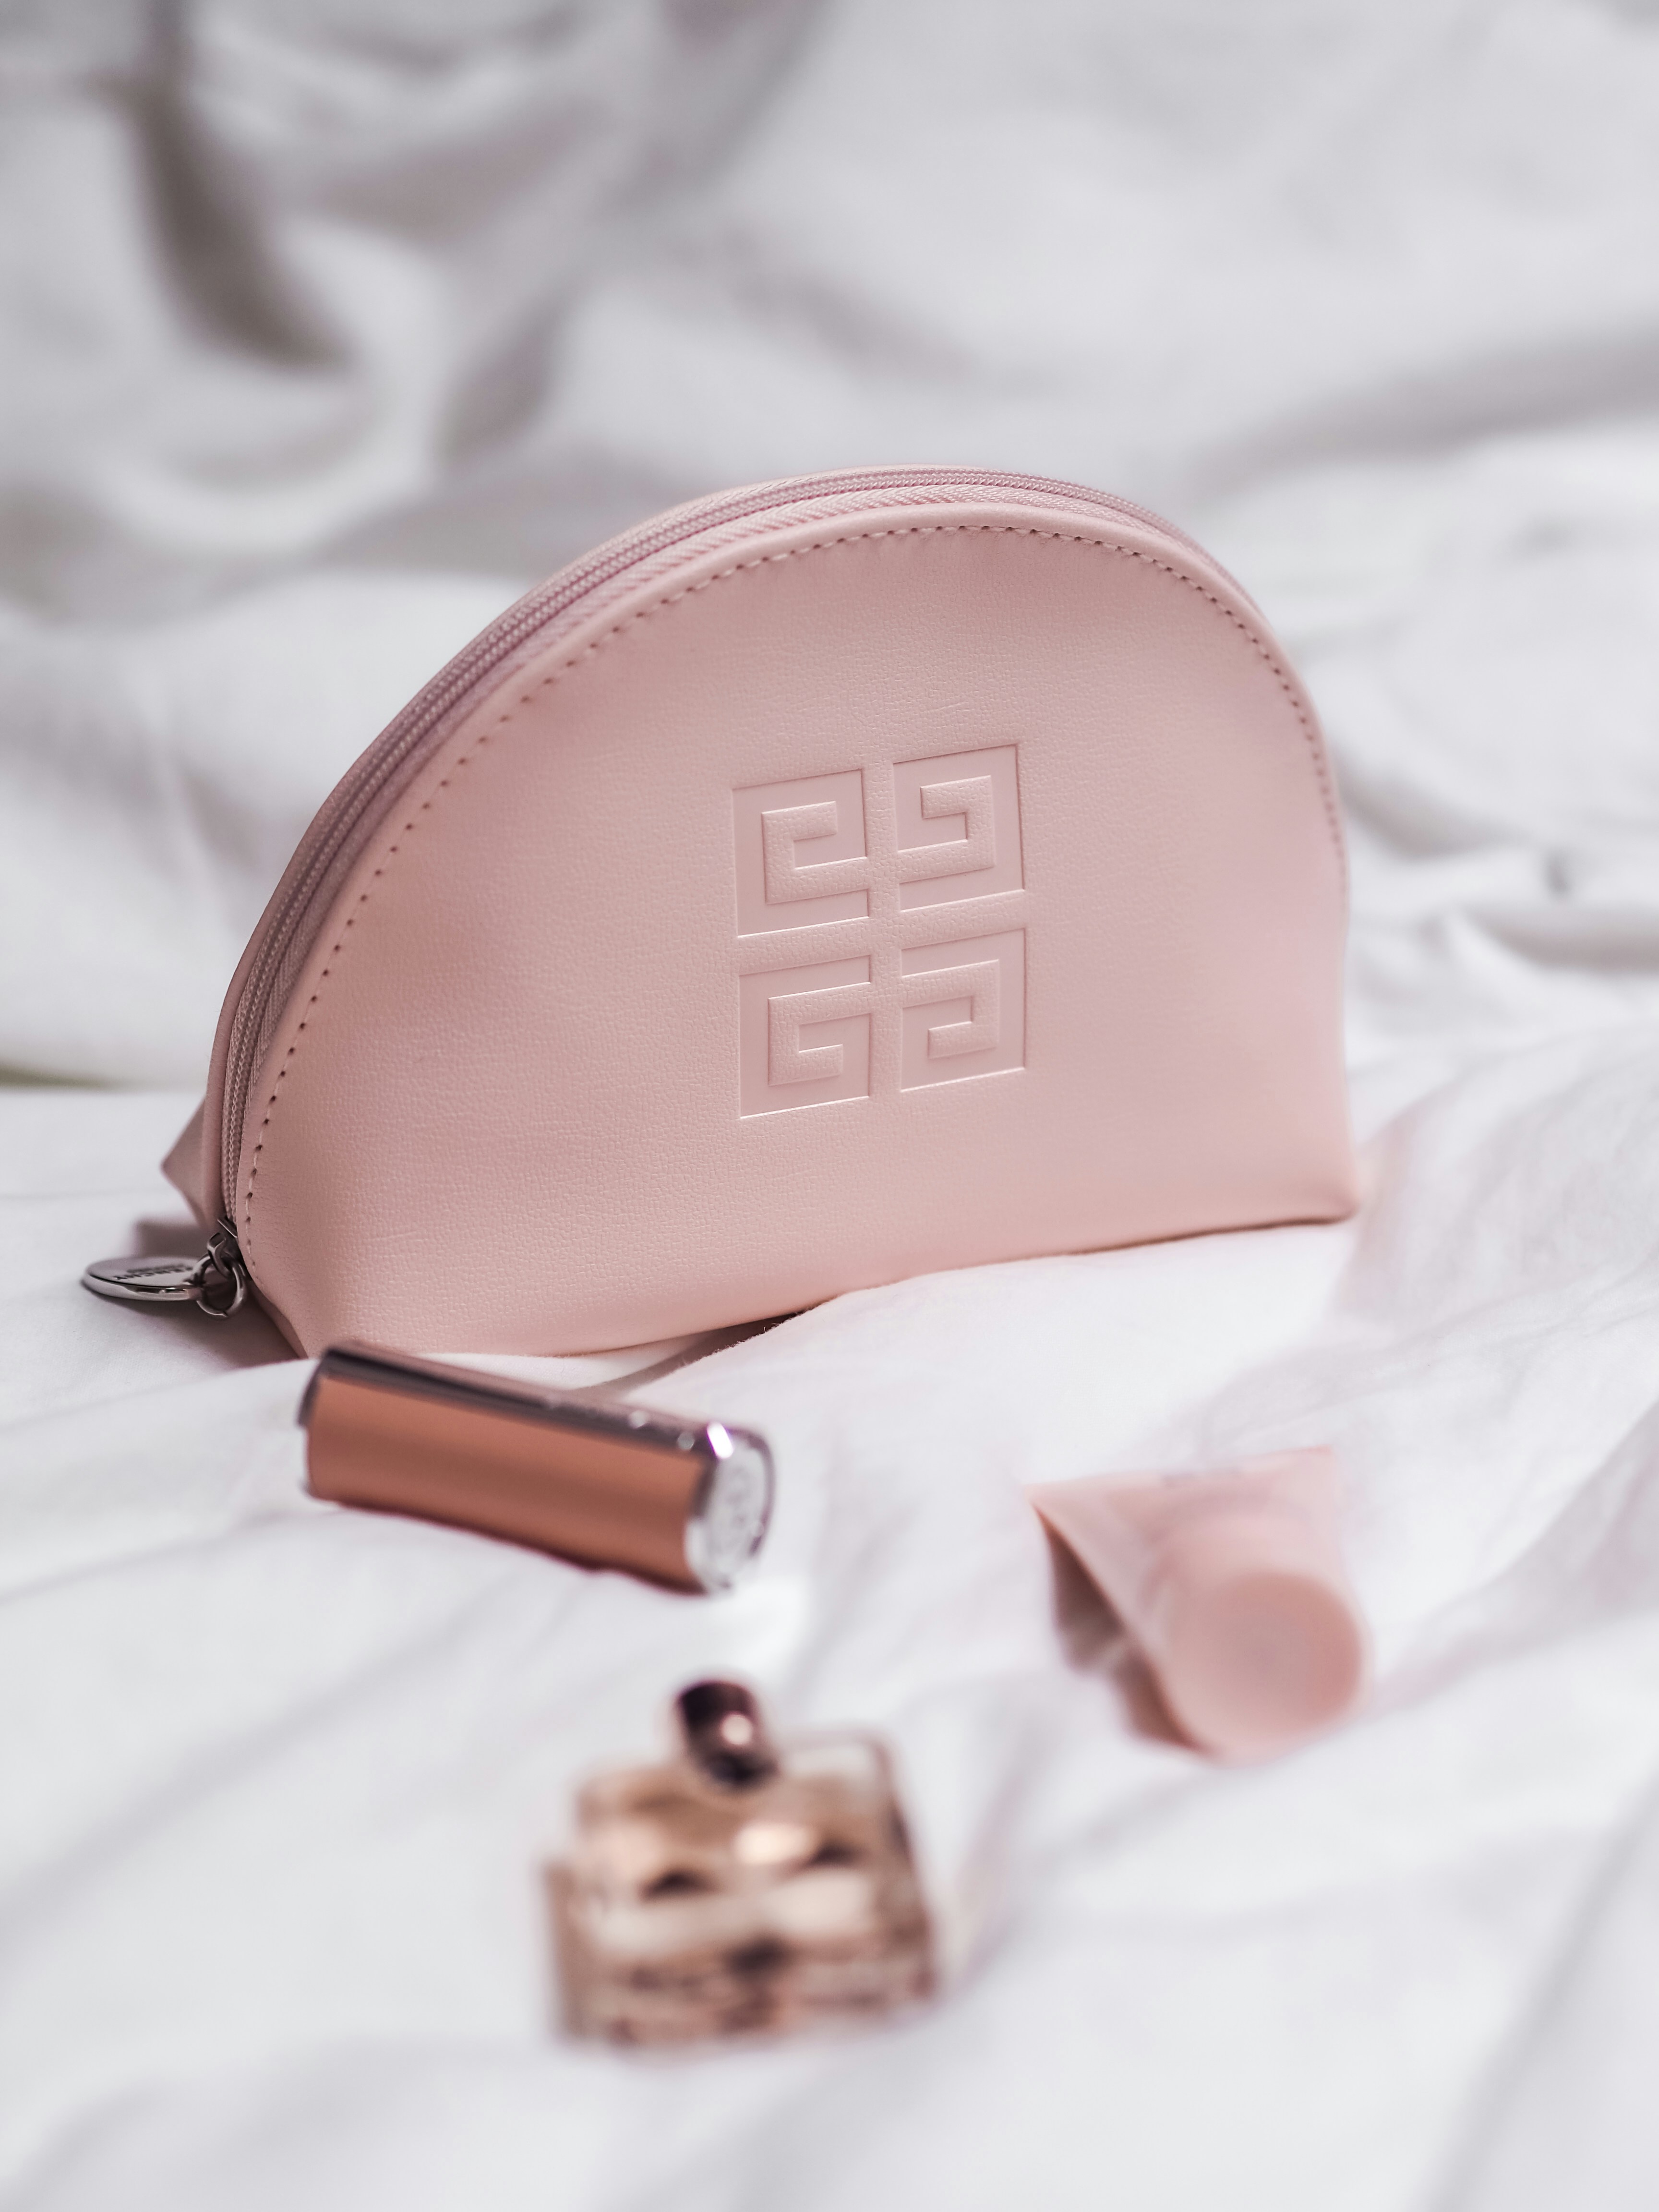
The cosmetic packaging industry is currently drowning in cheap, heat-transferred vinyl pouches that peel, crack, and degrade within months of use. When beauty brands and promotional agencies want to signal actual luxury and permanence, they invariably turn to custom embroidery. However, there is a catastrophic misconception in the marketplace regarding how these items are actually produced. Amateurs assume you simply buy a blank bag, strap it to an embroidery machine, and press a button. From our experience at Printembroiderybags, engineering secondary packaging for global beauty conglomerates, this shortcut methodology guarantees puckered fabric, ruined inner linings, and a high rejection rate on the quality control floor.
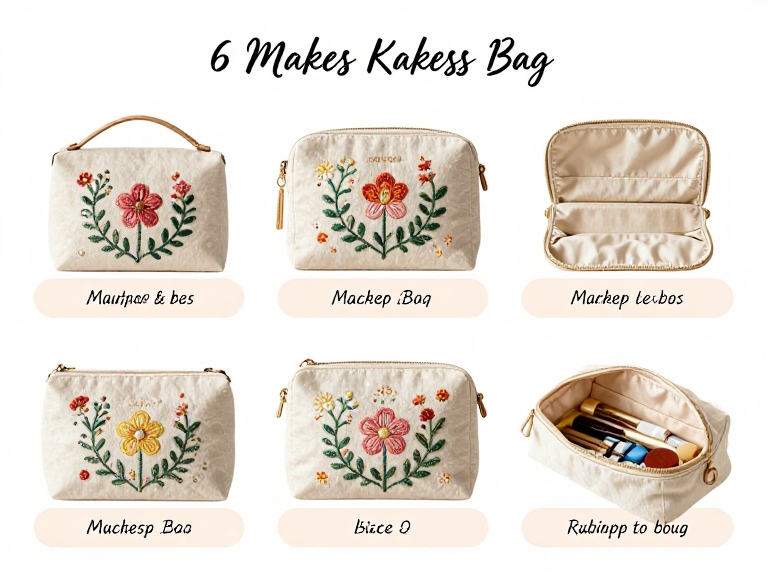
In most professional situations, treating an embroidered makeup bag as an afterthought leads to failure. To achieve a retail-ready product, you must utilize the cut-and-sew methodology. This means the embroidery is applied to raw, flat fabric panels long before the bag is actually assembled and stitched together. You must use commercial and practical judgment when executing this process. A dense, 15,000-stitch floral logo requires precise stabilization and structural foresight. In this definitive guide, we take an uncompromising, expert stance on the exact 6 steps required to make an embroidered makeup bag from scratch. We will dissect the nuances of digitizing, expose the flaws of hooping pre-made blanks, and provide you with the blueprint to manufacture flawless, high-end cosmetic packaging.
Quick Answer: The Professional Cut-and-Sew Protocol
If you are actively seeking to make an embroidered makeup bag that meets commercial retail standards, you must follow these 6 sequential steps:
- Material Procurement & Cutting: Select heavyweight fabrics (canvas, velvet) and cut them into flat panels, including outer shells and waterproof linings.
- Design Digitizing: Convert vector artwork into machine-readable stitch files, assigning precise underlay stitches and push-pull compensations.
- Hooping and Stabilizing: Secure the flat outer fabric panel in the embroidery hoop using an appropriate cut-away or tear-away stabilizer.
- The Embroidery Run: Execute the digital pattern using high-tensile polyester threads to prevent color bleeding during washing.
- Bag Assembly (Cut-and-Sew): Install zippers and sew the embroidered outer shell to the inner lining, boxing the corners to create a gusset.
- Finishing & Quality Control: Trim jump stitches, steam the fabric to remove hoop burn, and inspect zipper tension.
We recommend entirely abandoning the practice of embroidering pre-made blanks. To achieve absolute perfection, partner with a factory capable of executing Custom Embroidery Cosmetic Bags from flat raw materials.
Table of Contents
- What It Is: The Anatomy of Embroidered Packaging
- How It Works: The 6 Manufacturing Steps
- Commercial Benefits of Embroidery
- Limitations and Hidden Risks
- Who Should Use This Method
- Who Does Not Need It
- Common Manufacturing Mistakes
- Expert Buying Considerations
- Summary and Comparison Tables
- Expert Recommendation & Hardware
- Frequently Asked Questions
What It Is: The Anatomy of Embroidered Packaging
An embroidered makeup bag is a premium storage vessel where brand logos, monograms, or intricate artistic patterns are permanently stitched directly into the textile fibers of the outer shell. Unlike printing, which sits on top of the fabric, embroidery creates a tactile, three-dimensional texture. The anatomy of a high-quality bag involves an outer shell (usually cotton canvas, velvet, or PU leather) that bears the embroidery, a protective inner lining (typically wipeable nylon or PEVA) to protect against cosmetic spills, and industrial-grade zipper hardware.
It is critical to understand the distinction between surface decoration and integrated manufacturing. When you look at high-end boxy structured cosmetic bags, the embroidery never shows through to the inside of the bag. The thread backing is completely hidden between the outer shell and the lining. This is the hallmark of commercial cut-and-sew manufacturing.
How It Works: The 6 Steps to Make an Embroidered Makeup Bag
How it works in a professional facility dictates the longevity of the product. Here is the rigid, 6-step protocol we utilize to ensure flawless execution.
Step 1: Material Procurement and Panel Cutting
The foundation of embroidery is stability. Thin, flimsy fabrics will instantly warp under the tension of a commercial embroidery needle. For heavy-duty applications, you must specify heavyweight materials such as 12oz to 16oz cotton canvas, dense velvet, or backed corduroy. The factory will unroll these textiles and use industrial die-cutters or lasers to cut out the exact flat panels required for the front, back, and gussets of the bag, alongside identical panels for the waterproof inner lining.
Step 2: Digitizing the Design
Embroidery machines cannot read JPEG or PNG files. The artwork must be “digitized”—a highly technical process where software maps the exact path, stitch type (satin, fill, or running stitch), and thread density for the needles to follow. In our testing, poor digitizing is the root cause of 90% of embroidery failures. A skilled digitizer programs “underlay stitches” to stabilize the fabric before the visible top stitches are laid down, preventing the design from sinking into plush fabrics like velvet.
Step 3: Hooping and Stabilizing
The flat, pre-cut outer fabric panel is placed into an embroidery hoop. Crucially, a backing material called a “stabilizer” is secured behind the fabric. The stabilizer prevents the fabric from stretching and puckering while the needle rapidly punches through it. For dense canvas, a heavy tear-away stabilizer is standard. For stretchy materials or velvet, a cut-away stabilizer is absolutely mandatory to maintain structural integrity.
Step 4: The Embroidery Run
The hooped panel is locked into a multi-head commercial embroidery machine. We recommend utilizing high-tensile polyester threads over traditional rayon. Polyester is bleach-resistant, highly durable, and will not bleed color when the consumer inevitably washes makeup stains out of their everyday cosmetic bags. The machine executes the digitized file, swapping thread colors automatically.
Step 5: Bag Assembly (Cut-and-Sew)
Once the embroidery is finished, the panel is removed from the hoop, and the excess stabilizer is trimmed. The assembly process begins. The embroidered outer shell is sewn to the zipper tape face-to-face. The inner waterproof lining is then sewn into the same seam. The bag is sewn inside out, the corners are boxed (stitched across the corners to create a flat bottom or gusset), and the entire bag is turned right-side out through a small gap left in the lining. This ensures all raw edges and embroidery backings are trapped invisibly between the layers.
Step 6: Finishing and Quality Control
The final step is critical for retail presentation. Technicians manually trim any microscopic “jump stitches” connecting letters or design elements. The bag is subjected to industrial steam to remove “hoop burn” (the temporary circular indentation left by the embroidery hoop). Zippers are tested for tension, and the bag is subjected to a final visual inspection before being packed into Packaging Solutions for Cosmetic Bags.
Commercial Benefits of Embroidery
The primary benefit of choosing to make an embroidered makeup bag is perceived value. Embroidery signals permanence and luxury. It cannot be scratched off by keys in a handbag, it does not fade in the sun, and it provides a tactile, elevated aesthetic that commands a significantly higher retail price point. For brands building premium cosmetic bag gift sets, embroidery creates an heirloom-quality promotional item that consumers will retain for years.
Limitations and Hidden Risks
We must use commercial and practical judgment: embroidery has strict limitations. You cannot embroider photographic gradients or microscopic text (anything smaller than a quarter inch will look like a messy blob of thread). Furthermore, designs with incredibly high stitch counts (over 20,000 stitches) create an extremely stiff, bulletproof patch on the fabric that can distort the natural drape of a soft cosmetic pouch. Intricate designs are often better served by exploring Custom Printing Cosmetic Bags.
Who Should Use This Method
For Commercial Users and Premium Brands: Beauty conglomerates, boutique cosmetics lines, and corporate gifting agencies seeking to manufacture high-end merchandise must utilize cut-and-sew embroidery. The ability to customize the zipper pull, the lining color, and the fabric weight simultaneously guarantees absolute brand cohesion.
Who Does Not Need It
For Beginners and DIY Hobbyists: If you are a solo crafter trying to make five bags for a bridal party on a home sewing machine, attempting a full cut-and-sew assembly with a waterproof lining and a zipper can be overwhelmingly complex. You are the only demographic that should buy pre-made blank bags and attempt to carefully float them on a home embroidery hoop, accepting the inherent quality compromises.
Common Manufacturing Mistakes
From our experience auditing failed merchandise, the most catastrophic mistake amateurs make is attempting to embroider directly over a finished, pre-made bag. When you do this, the machine sews the outer fabric directly to the inner lining, destroying the bag’s functionality and exposing the messy bobbin thread on the inside of the pouch. A professional bag must always have a floating lining that hides the reverse side of the embroidery. For more insights on avoiding factory disasters, read our guide on how to evaluate cosmetic bag supplier quality.
Expert Buying Considerations
When you are ready to scale production, you must evaluate the factory’s Cosmetic Bags Manufacturing Capabilities. Do they operate their own multi-head embroidery machines, or do they outsource to a third party? Do they offer 3D puff embroidery or metallic thread options? Most importantly, verify that they utilize the cut-and-sew method rather than sourcing cheap blanks from an open market. Reviewing our custom cosmetic bag manufacturer considerations will protect your capital investment.
Summary and Comparison Tables
Quick Summary Table: The 6 Cut-and-Sew Steps
| Step | Action | Critical Quality Metric |
|---|---|---|
| 1. Material Cutting | Cut raw fabric into flat panels. | Ensures accurate sizing and grain alignment. |
| 2. Digitizing | Program the stitch path. | Proper underlay stitching prevents fabric distortion. |
| 3. Stabilizing | Apply backing material and hoop. | Prevents the fabric from stretching during sewing. |
| 4. Embroidery Run | Execute design with poly thread. | Maintains thread tension to prevent loops. |
| 5. Assembly | Sew panels, zippers, and lining. | Hides embroidery backing completely inside the lining. |
| 6. Finishing | Trim, steam, and inspect. | Removes hoop burn and jump stitches for retail display. |
Comparison Table: Embroidery vs. Screen Print vs. Heat Transfer
| Decoration Method | Durability | Best Use Case | Limitation |
|---|---|---|---|
| Embroidery | Permanent (Highest) | Logos, monograms, premium retail | Cannot reproduce photographic gradients |
| Screen Printing | High (if cured properly) | Large solid-color graphics | Setup costs are high for multi-color designs |
| Heat Transfer (Vinyl) | Low to Moderate | Low-volume, complex color graphics | Prone to peeling and cracking over time |
Pros and Cons of Embroidered Makeup Bags
| Pros (Why you must upgrade) | Cons (The operational reality) |
|---|---|
| Commands a premium retail price point. | Higher initial manufacturing costs due to digitizing. |
| Tactile, three-dimensional aesthetic. | Heavy stitch counts can make soft fabrics stiff. |
| Immune to peeling, fading, or cracking. | Cannot replicate ultra-fine microscopic text. |
| Polyester threads resist cosmetic stains and bleach. | Requires professional cut-and-sew for a clean inner lining. |
Expert Recommendation & Hardware Spotlight
Is the effort required to source cut-and-sew manufacturing to make an embroidered makeup bag actually worth the capital? Emphatically, yes. Do not gamble your brand equity on cheap, pre-made blanks that are clumsily forced into an embroidery hoop. We recommend that commercial beauty brands partner directly with an OEM factory that understands the architecture of secondary packaging. At Printembroiderybags, we engineer these vessels from the raw fabric up, ensuring that even a simple classic black cosmetic pouch reflects uncompromising structural integrity.
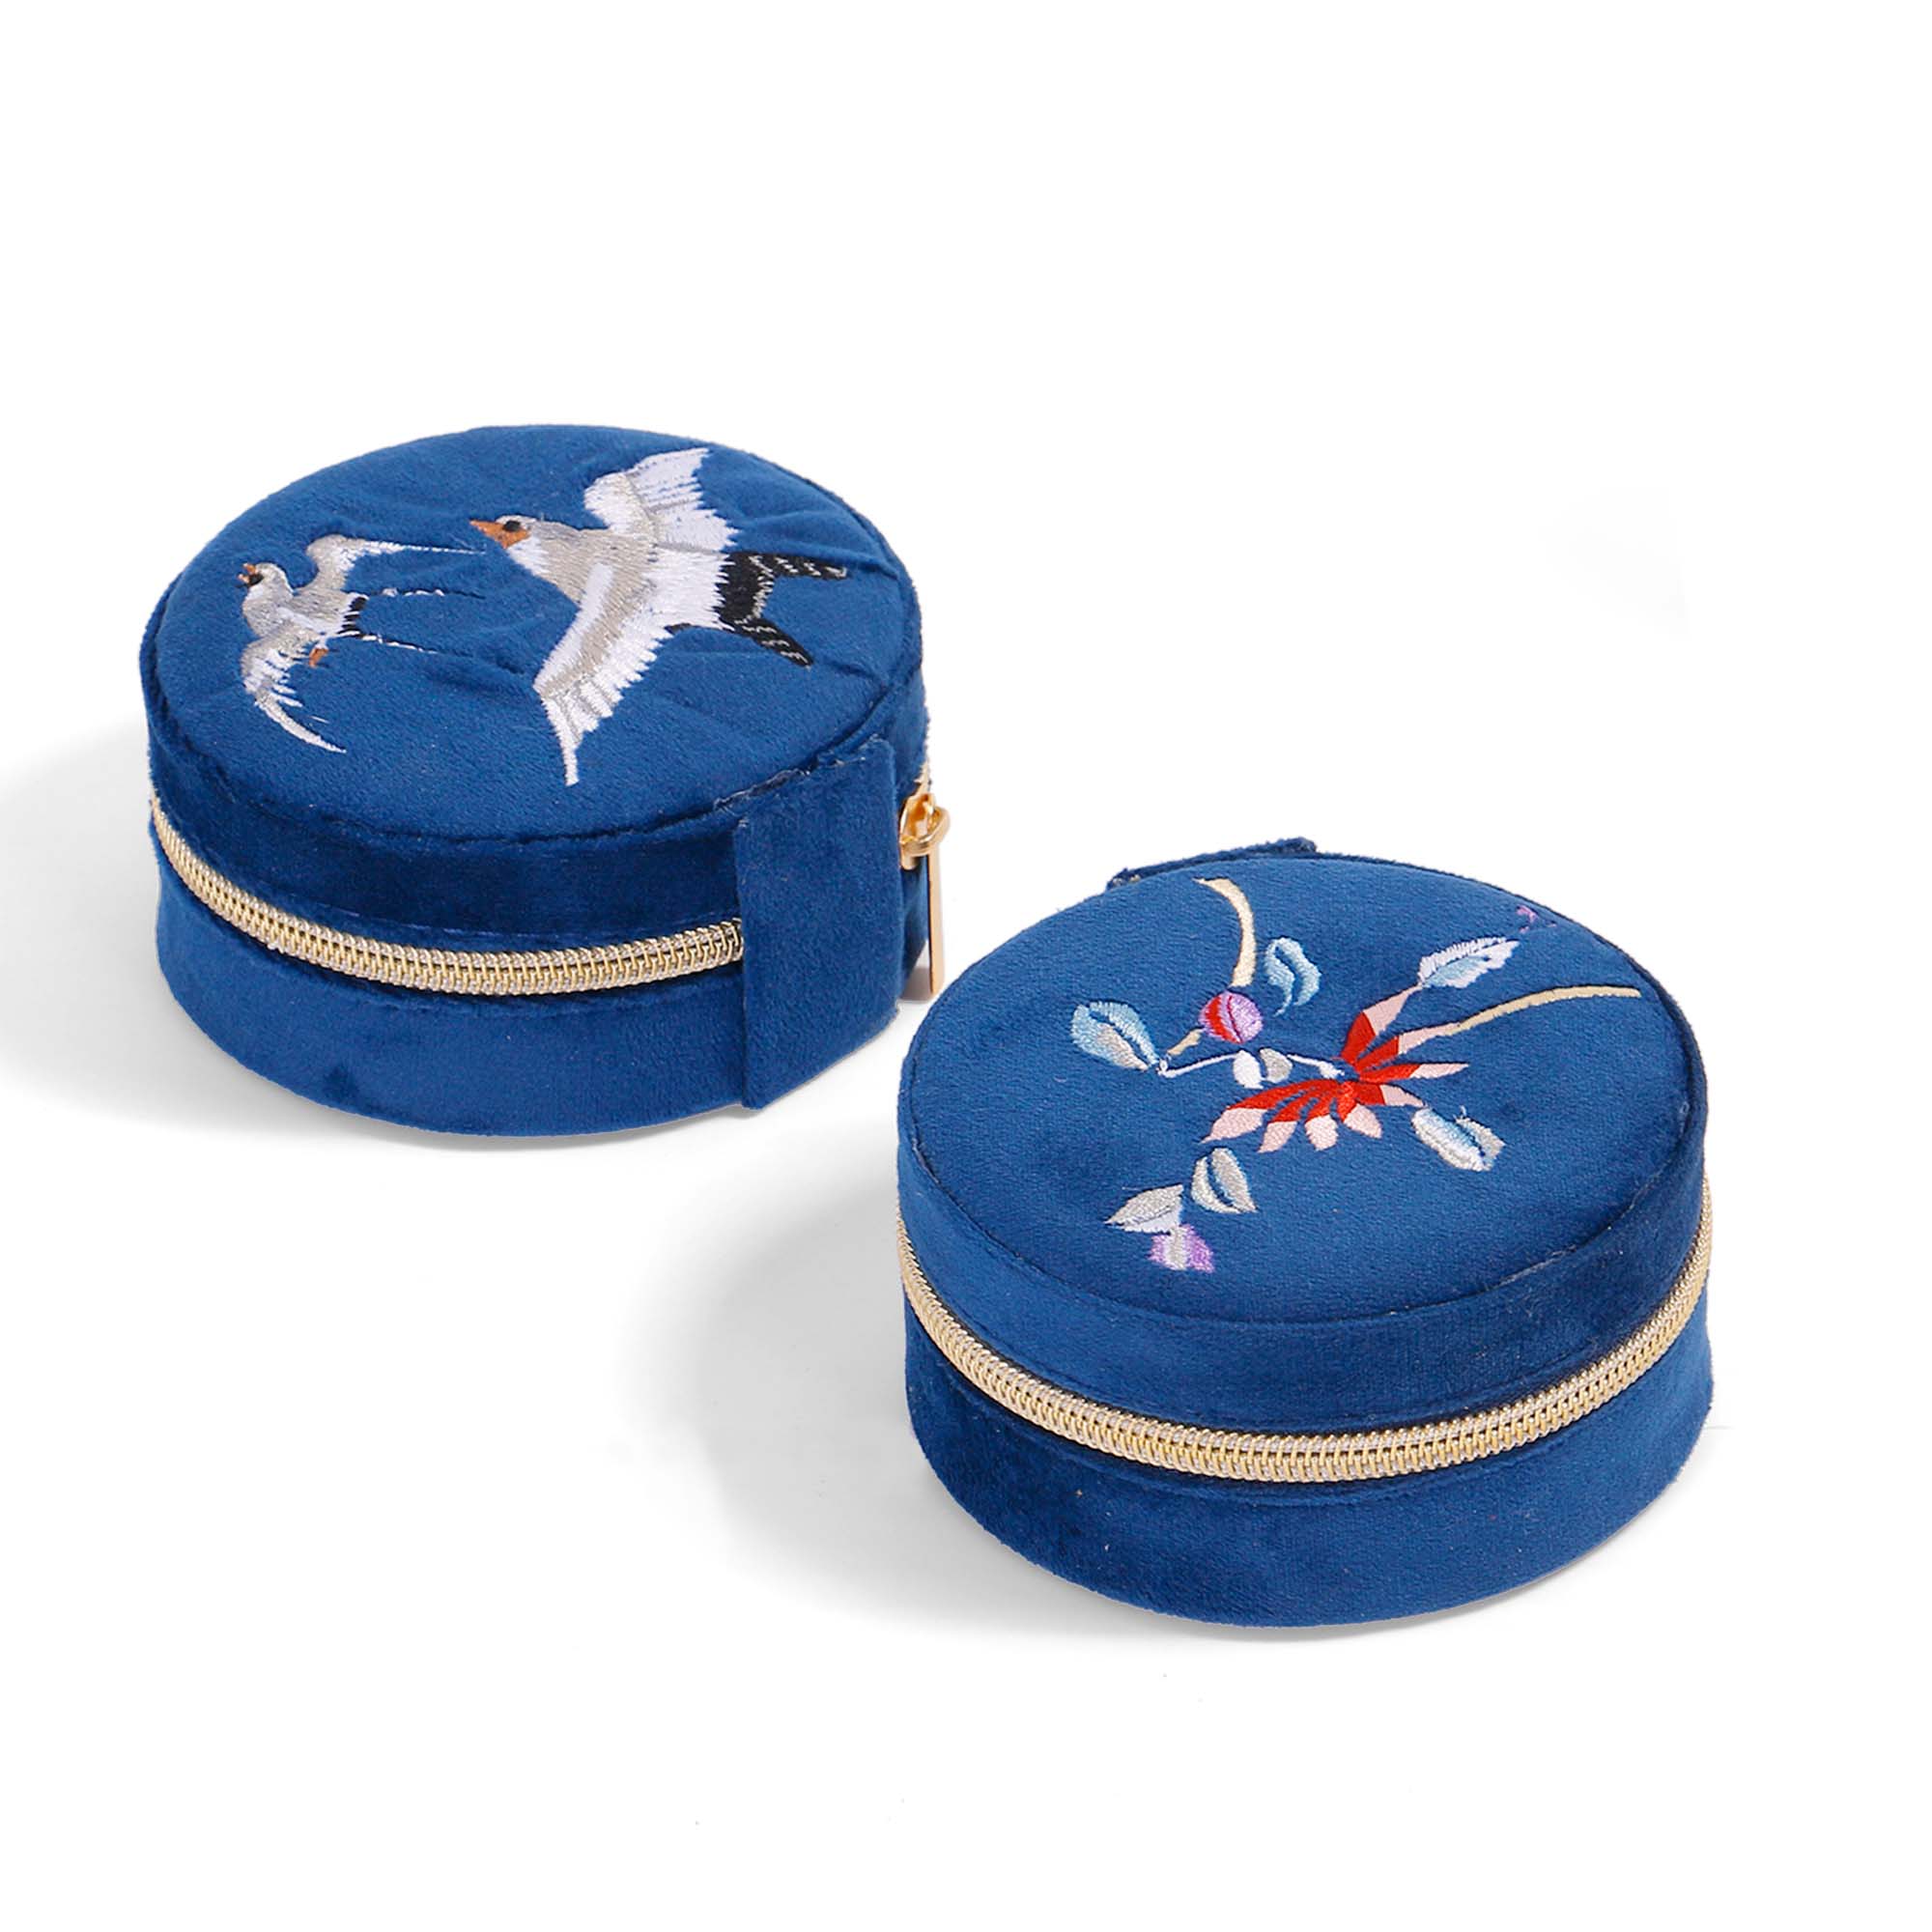
Embroidered Cotton Velvet Round Jewelry Case
This product exemplifies the pinnacle of precision cut-and-sew embroidery. Velvet is notoriously difficult to embroider because the stitches tend to sink into the pile. By utilizing advanced digitizing techniques and proper stabilization before assembly, we achieve crisp, raised floral and avian motifs on a highly structured, circular form factor.
- Dimensions: W4” x D4” x H2” (Perfectly engineered for compact, rigid protection).
- Material Architecture: Premium Cotton Velvet or Sustainable RPET Velvet options.
- Design Execution: High-density, multi-color commercial embroidery applied to flat panels prior to the complex circular gusset assembly.
- Logistics: Securely packed 6pcs per inner carton for pristine retail delivery.
Explore Custom Velvet Solutions
For brands looking to expand their merchandise lines beyond cosmetics, we strongly suggest exploring our Bags & Accessories wholesale catalogs to maintain embroidery consistency across tote bags, weekenders, and jewelry cases.
Frequently Asked Questions
Can you embroider an already assembled makeup bag?
Technically yes, but from our experience, the results are commercially unacceptable. Embroidering a pre-made bag requires floating it over the hoop, which leads to severe registration errors, puckering, and inadvertently sewing the inner lining to the outer shell. Professional manufacturing always embroiders flat fabric panels before final cut-and-sew assembly.
What is the best fabric for an embroidered cosmetic bag?
For commercial users, heavy cotton canvas (12oz to 16oz), dense cotton velvet, or high-grade PU leather are vastly superior. These heavyweight fabrics provide the necessary structural stability to support high stitch counts without puckering, tearing, or distorting the final shape of the design.
Why is digitizing important when making an embroidered bag?
Digitizing is the software programming that maps the exact path the embroidery needle will take. If a design is poorly digitized, it will lack proper underlay stitching, causing the thread to sink into fabrics like velvet, or it will pull the canvas so tightly (lacking push-pull compensation) that the final bag cannot lie flat.
What thread is used for commercial makeup bags?
In most professional situations, we utilize high-tensile polyester thread. While rayon thread offers a slightly higher sheen, polyester is virtually indestructible, highly resistant to abrasion, and colorfast against bleach and harsh cosmetics—essential qualities for an item constantly exposed to makeup spills and washing.
Industry References & Authoritative Guidelines
To ensure our textile manufacturing and cut-and-sew guidance aligns with the strictest global quality standards, Printembroiderybags references the protocols established by the following authoritative organizations:
- ASTM International: The global standards organization that publishes the rigorous consensus technical standards (such as ASTM D5034) for testing the tensile strength, tear resistance, and structural integrity of woven textile fabrics used in commercial bagging. Review ASTM Textile Standards
- Textile Exchange: A leading non-profit organization providing comprehensive industry guidelines on sustainable material sourcing, specifically regarding the certification and processing of organic cotton canvas and recycled RPET velvet. Review Textile Exchange Data
- International Organization for Standardization (ISO): The definitive global authority defining ISO 9001 quality management systems, ensuring that cut-and-sew manufacturing facilities maintain strict quality control and continuous improvement protocols. Review ISO Manufacturing Standards